Showing posts with label Dessert. Show all posts

Monday, June 6, 2011

Apple Dumplings

I remember fondly eating apple turnovers while waiting for the train that took me to uni and after coming home from work. They tasted especially good since I couldn't wait the 10 minute walk to home and dinner. In my hurry to chow them down the icing sugar would inevitably get onto my clothes and I spent the rest of the walk trying to hide the evidence of the white powder. Where did this plentiful supply of gloppy apple and whipped cream with flaky pastry come from? The local Vietnamese bakery with their crazy cheap prices. Besides their turnovers, I loved their sausage rolls and pork rolls. But I didn't love the extra weight gained from eating there so had to stop visiting.


It's been many years since I sunk my teeth into an apple turnover so when I saw this recipe for apple dumplings I thought this was worth a try. I've tried this recipe twice now. The first time I cooked the apples in sugar and butter and forgot about it, until the juice had turned a bit like jam. The second time I doused it in cinnamon sugar. Both variations turned out fine. You can be as creative and fancy as you like with the apples. And why stop at apples, I think any in season fruit would work a treat: cherries, peaches, nectarines could all work.


This is a great recipe to involve the toddler in. We enjoyed turning the butter and flour mixture into crumbs. With the leftover scone-like dough, we turned them into Hello Kitty and cat and dog shaped biscuits. Success, with a capital S.


This recipe was quite easy to make if somewhat time consuming but trust me worth the effort. And surprisingly it tastes just as good if not better cold the next day.


What dessert could you eat over and over again?


Apple Dumplings (Adapted from Australian Women's Weekly)
Ingredients
For the dumplings
4 apples - medium sized apples. Big apples are harder to wrap up.
250g self-raising flour
90g butter plus 1 tablespoon
2 tablespoons sugar plus more for the apples
1/2 cup milk

For the syrup
100g sugar
60g butter
2 tablespoons lemon juice
1 cup water

Method
For the dumplings
1. Peel, core and quarter the apples. Heat up a frypan with butter, add the apples, sprinkle sugar on top, toss till the apples are coated in sugar, then cook till they are soft. You may need to add a little bit of water to help with the cooking process. Pop a lid on if you want to speed things along. No exact science here, I left the apples simmering on the stovetop until most of the liquid had evaporated and the apples were soft. You can make the dough while the apple cooks.
2. For the dough, sift flour into a bowl. Then rub in butter until the mixture resembles breadcrumbs. Don't give up, it eventually gets there. I must've stood there for at least 5 minutes thinking it ain't working, it ain't working when all of a sudden it started looking less like chunks of butter and flour and more like crumbs. Make sure your butter is soft and cut up into cubes to help with the process.
3. Once breadcrumb stage is reached, do a happy dance, then mix in the sugar. Add milk, mix to a soft dough. Roll out the dough onto a lightly-floured countertop until the dough is about 2-3 mm thick. You need a clear surface to work on. Trust me, makes rolling much more pleasant.
4. Cut the dough into 8cm squares, roughly big enough to wrap a piece of apple. And that is your next step.
5. Place a piece of apple in the middle of each square, fold the edges together like wrapping a little parcel. Then place them next to each other in one layer in a casserole dish. Pour syrup (instructions below) over the dumplings. Bake uncovered in a 180ยบ oven for 30 to 35 minutes, till golden brown.   

For the syrup
5. Melt butter in a saucepan, add remaining ingredients and stir. Bring it to a boil, boil for three minutes or until it thickens a little. I found my syrup was still quite runny but once out of the oven it was all absorbed by the dumplings.

Serve with some whipped cream. Makes 12.

Saturday, January 22, 2011

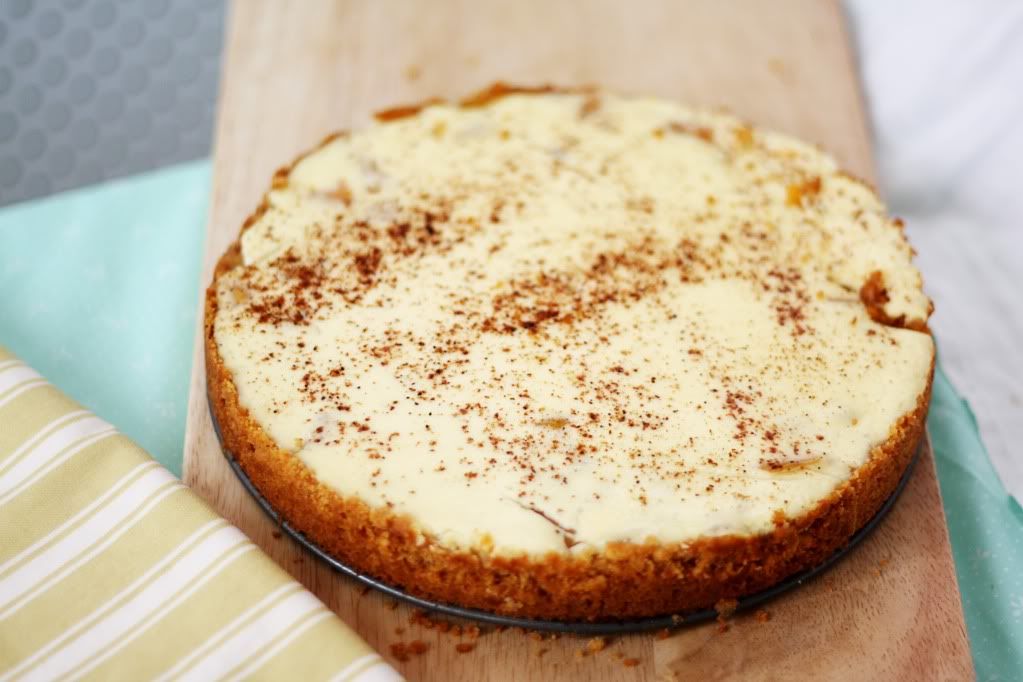
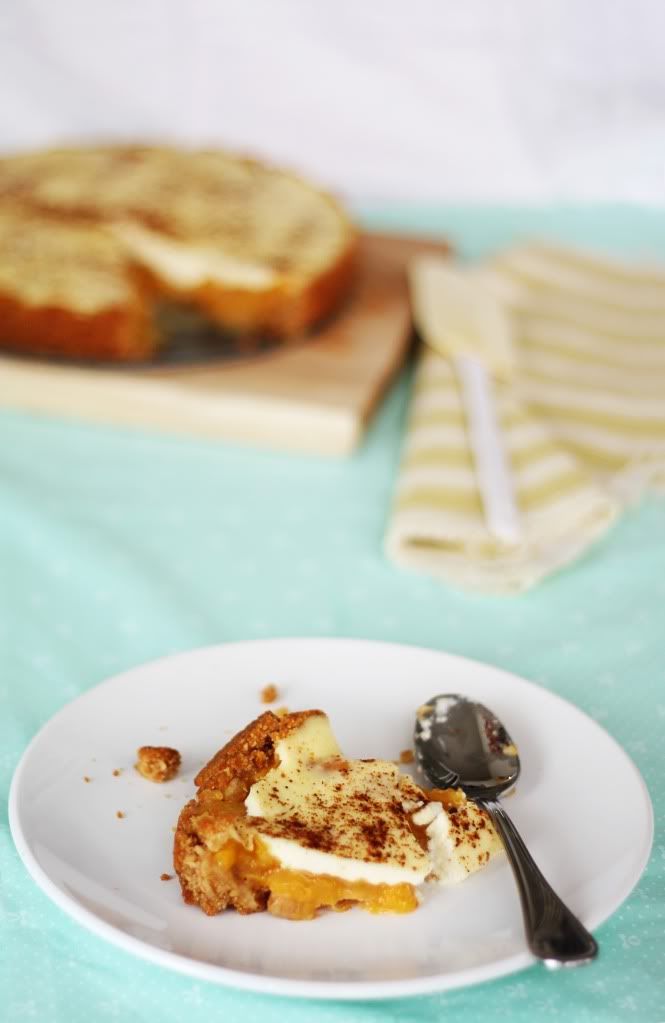
Apricot Sour Cream Pie

Today we trialled an easy straightforward dessert, Apricot Sour Cream Pie. The hardest part about this dish was taking the photos! You see, we live in an apartment which is in the shade for most of the day. In fact, it's so dark that while in the car I have to squint. It is a shock to see that it can be bright outside! So you see working in a darkened room would be a challenge. And mental note to self: "Go outside more".


The photo taking process was laborious. We spent several hours, getting increasingly hot and frustrated, playing around with reflectors (i.e. foil), artificial lighting (i.e. one lonely reading lamp with baking paper wrapped around it), and backgrounds (i.e. white pieces of material). Each shot, we improved on the image but golly gosh it was hard work. Why? Because we are newbs. It really boils down to that.

We took a photo of how all the props were placed.  Position of lamp in relation to picture on wall. Check. State of scrunched up baking paper. Check. Where Mabel stands with said lighting in relation to corner of bed and chair. Check. Wait up...isn't this all going to change depending on the time of day, and amount of light filtering in? Oh Nooooooooooo. I foresee many more hours spent tilting, straightening, checking and shining. I found it fun nevertheless. But that goes without saying, since Mary did do most of the hard work, hehehe. The joys of being the big sister!
 
We couldn't wait to eat the pie!

Photobucket
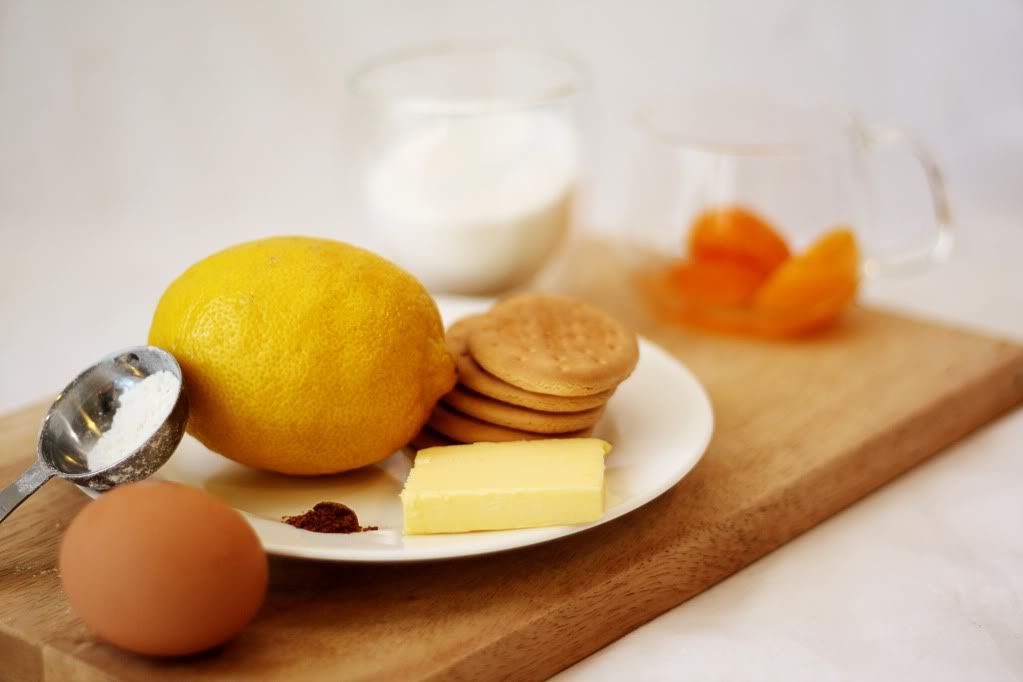
Apricot Sour Cream Pie (Adapted from Australian Women's Weekly)
Ingredients
For the base
185g plain sweet biscuits e.g. milk arrowroot
150g butter, melted


For the filling
Biggest tin of tinned apricots you can find (ours was 820g), drained of syrup, and chopped roughly
4 tablespoons sugar (3 tablespoons for the apricot and 1 tablespoon for the sour cream)
1 tablespoon plain flour, mixed with 1/4 cup water
1 tub of sour cream (we used a 250g tub)
1 egg
1 teaspoon grated lemon rind (optional)
nutmeg


Method
Base
1. For the base, crush biscuits finely. I placed the biscuits inside a freezer bag, and smashed it with the end of a rolling pin. Beware of holes in bag.
2. Combine crushed biscuits with the melted butter. You know you have enough butter when the mixture does not crumble when you squeeze it together in your hands. Don't worry about the fat content. Take the pie to work, distribute to your neighbours. That's what I do.
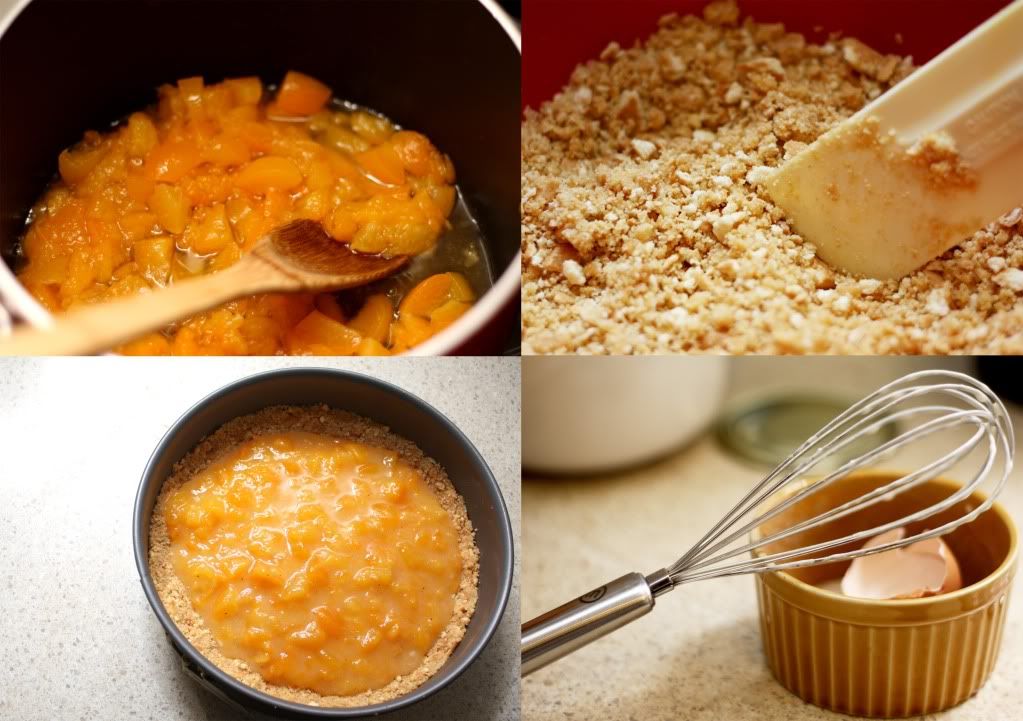
3. Press biscuit mixture into a springform pan. Try to press some of the mixture up the sides of the pan.
4. Put into fridge, while preparing the filling, which now follows.


Filling
5. Combine the drained chopped apricots and 3 tablespoons of sugar in a saucepan. Stir until sugar is dissolved.
6. Now it's time to thicken the apricots with the flour and water mixture. Blend flour and water first in a separate bowl. Pour into saucepan slowly and stir vigorously to avoid lumps. Take off the heat and cool.
7.  Meanwhile combine the sour cream, egg, lemon rind and 1 tablespoon sugar in a separate bowl.
8. Now onto assembly. Spread apricot mixture over biscuit crumb crust. Bake in a 180°C oven for 10 minutes.
9. Then, take it out of the oven, spread the sour cream mixture on top of the apricots, sprinkle some nutmeg on top and bake for another 20 minutes, or until the cream has set. Ours was wobbly in the centre when you shook it but had actually thickened enough to cut. That's it. Enjoy.

Tuesday, January 18, 2011

Awwful Dinner #1 - Part 3

Finally, if you survived the sauce, then be prepared for some more orange goodness.

This dessert was very easy to make and is great for hot weather.  We served ours with evaporated milk, the creaminess of the milk cut through the sweetness of the jelly which is good if you are not partial to sweet things.  And if you don't like the richness of panna cotta, this is a good alternative.

As my sister pointed out, it has the texture of mango pudding that you get in yum cha.  Make it with mango flavoured jelly (or mango nectar), spoon some evaporated milk over it and blam!, you can pretend you are in a busy Chinese restaurant where the conversation is loud and the trolley ladies glare.

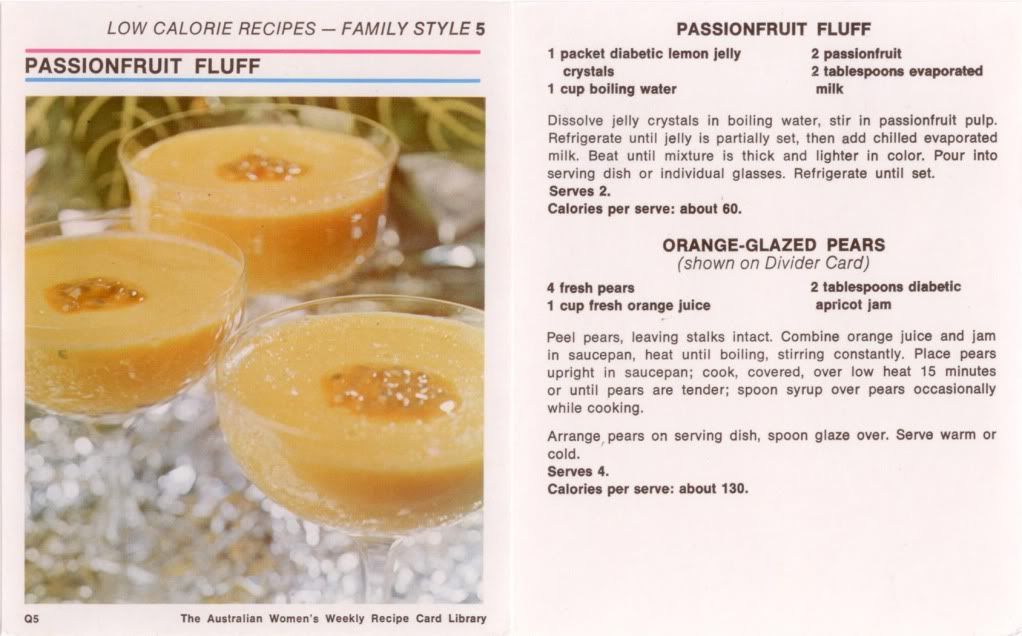
aww recipe card passionfruit fluff

Passionfruit Fluff (adapted from Australian Women's Weekly)
Serves 2
Ingredients
1 packet lemon jelly crystals
1 cup boiling water
2 passionfruit or half a 170g tin of passionfruit pulp
2 tablespoons chilled evaporated milk
passionfruit fluff jelly ingredients
  1. In a bowl, dissolve the jelly crystals with boiling water and stir in the passionfruit pulp.  
  2. Chill the liquid until it is partially set.  
  3. Add the evaporated milk and beat until it is light and thick.  
  4. Pour into a serving dish or glasses and chill until set.

passionfruit fluff mixing

passionfruit fluff jelly

Friday, January 7, 2011

Jellied Wine Grapes

The first recipe card for the year. This is a good one.  Introducing to you an adult version of jello: Jellied Wine Grapes. Feast your eyes on this, in particular the state of the grapes. Did you notice the brown streaks on the grapes, in particular around the stem area? I must say that food photography has come a long way. Would you eat this?


Related Posts Plugin for WordPress, Blogger...