Showing posts with label Snacks. Show all posts

Monday, January 16, 2012

Oatmeal Nutties

Photobucket


The recipe card may call them "Oatmeal Nutties" but really they are just a tweaked version of ANZAC biscuits.  Funnily enough underneath the oatmeal nutties recipe there is a recipe for ANZAC biscuits.

These cookies are incredibly easy to make, it is a one bowl & one pot recipe.  There is no need to cream any butter or to carefully fold in flour.  There is no need to chill the dough in the fridge or to roll it out to 1/4 inch thick.  All things I loathe to do, especially when the fridge is already so full, it is impossible to be cramming in two baking trays with carefully shaped cookies.  Or worse into the freezer where the trays will be at creative angles. 

Photobucket

Oatmeal Nutties (Adapted from Australian Women's Weekly)

Ingredients
1 cup rolled oats
1 cup dessicated coconut
3/4 cup plain flour
3/4 cup caster sugar
1/2 teaspoon salt
125g butter
2 tablespoons water
2 teaspoons golden syrup or treacle syrup
1/2 teaspoon bicarb soda


Method
1. Line each baking sheet with baking paper.  Preheat the oven to 180°C or 170°C for fan-forced ovens.  Sift the flour and bicarb soda into a large bowl.
2. Add the oats, coconut, sugar and salt.  Stir until combined.
3. In a saucepan over medium heat, combine the water, butter and golden syrup.  Stir until the butter has melted.  Add this to the dry ingredients and mix well.
4. Scoop the dough using a teaspoon and shape each one into a ball.
5. Place on the baking paper, 2.5 cm apart to allow for spreading.  Bake them for 10-12 minutes until they are golden brown.
6. Let them cool on the baking sheet for a couple of minutes until they harden up a little and transfer them to a cooling rack.  Allow to cool completely and place in an airtight container.

Makes about 50 little cookies.

Monday, June 6, 2011

Apple Dumplings

I remember fondly eating apple turnovers while waiting for the train that took me to uni and after coming home from work. They tasted especially good since I couldn't wait the 10 minute walk to home and dinner. In my hurry to chow them down the icing sugar would inevitably get onto my clothes and I spent the rest of the walk trying to hide the evidence of the white powder. Where did this plentiful supply of gloppy apple and whipped cream with flaky pastry come from? The local Vietnamese bakery with their crazy cheap prices. Besides their turnovers, I loved their sausage rolls and pork rolls. But I didn't love the extra weight gained from eating there so had to stop visiting.


It's been many years since I sunk my teeth into an apple turnover so when I saw this recipe for apple dumplings I thought this was worth a try. I've tried this recipe twice now. The first time I cooked the apples in sugar and butter and forgot about it, until the juice had turned a bit like jam. The second time I doused it in cinnamon sugar. Both variations turned out fine. You can be as creative and fancy as you like with the apples. And why stop at apples, I think any in season fruit would work a treat: cherries, peaches, nectarines could all work.


This is a great recipe to involve the toddler in. We enjoyed turning the butter and flour mixture into crumbs. With the leftover scone-like dough, we turned them into Hello Kitty and cat and dog shaped biscuits. Success, with a capital S.


This recipe was quite easy to make if somewhat time consuming but trust me worth the effort. And surprisingly it tastes just as good if not better cold the next day.


What dessert could you eat over and over again?


Apple Dumplings (Adapted from Australian Women's Weekly)
Ingredients
For the dumplings
4 apples - medium sized apples. Big apples are harder to wrap up.
250g self-raising flour
90g butter plus 1 tablespoon
2 tablespoons sugar plus more for the apples
1/2 cup milk

For the syrup
100g sugar
60g butter
2 tablespoons lemon juice
1 cup water

Method
For the dumplings
1. Peel, core and quarter the apples. Heat up a frypan with butter, add the apples, sprinkle sugar on top, toss till the apples are coated in sugar, then cook till they are soft. You may need to add a little bit of water to help with the cooking process. Pop a lid on if you want to speed things along. No exact science here, I left the apples simmering on the stovetop until most of the liquid had evaporated and the apples were soft. You can make the dough while the apple cooks.
2. For the dough, sift flour into a bowl. Then rub in butter until the mixture resembles breadcrumbs. Don't give up, it eventually gets there. I must've stood there for at least 5 minutes thinking it ain't working, it ain't working when all of a sudden it started looking less like chunks of butter and flour and more like crumbs. Make sure your butter is soft and cut up into cubes to help with the process.
3. Once breadcrumb stage is reached, do a happy dance, then mix in the sugar. Add milk, mix to a soft dough. Roll out the dough onto a lightly-floured countertop until the dough is about 2-3 mm thick. You need a clear surface to work on. Trust me, makes rolling much more pleasant.
4. Cut the dough into 8cm squares, roughly big enough to wrap a piece of apple. And that is your next step.
5. Place a piece of apple in the middle of each square, fold the edges together like wrapping a little parcel. Then place them next to each other in one layer in a casserole dish. Pour syrup (instructions below) over the dumplings. Bake uncovered in a 180ยบ oven for 30 to 35 minutes, till golden brown.   

For the syrup
5. Melt butter in a saucepan, add remaining ingredients and stir. Bring it to a boil, boil for three minutes or until it thickens a little. I found my syrup was still quite runny but once out of the oven it was all absorbed by the dumplings.

Serve with some whipped cream. Makes 12.

Thursday, March 24, 2011

Gawd, a hippie recipe!


Today we are looking at wheatgerm. I always thought it was one of those additions that cost you an extra $1 at a certain well known juice joint. Adding wheatgerm/echinacea/wheatgrass gives you that happy-feel-good-about-yourself buzz that you're doing something healthy but we all know that guzzling down a 98% fat-free yoghurt smoothie doesn't necessarily mean it is free of sugar.

So for today's roadtest I am not heralding its nutritional value, but if you happen to have a whole bag of wheatgerm lying around from a health-food fad (like me), this is another way of using up all that wheatgerm you bought.

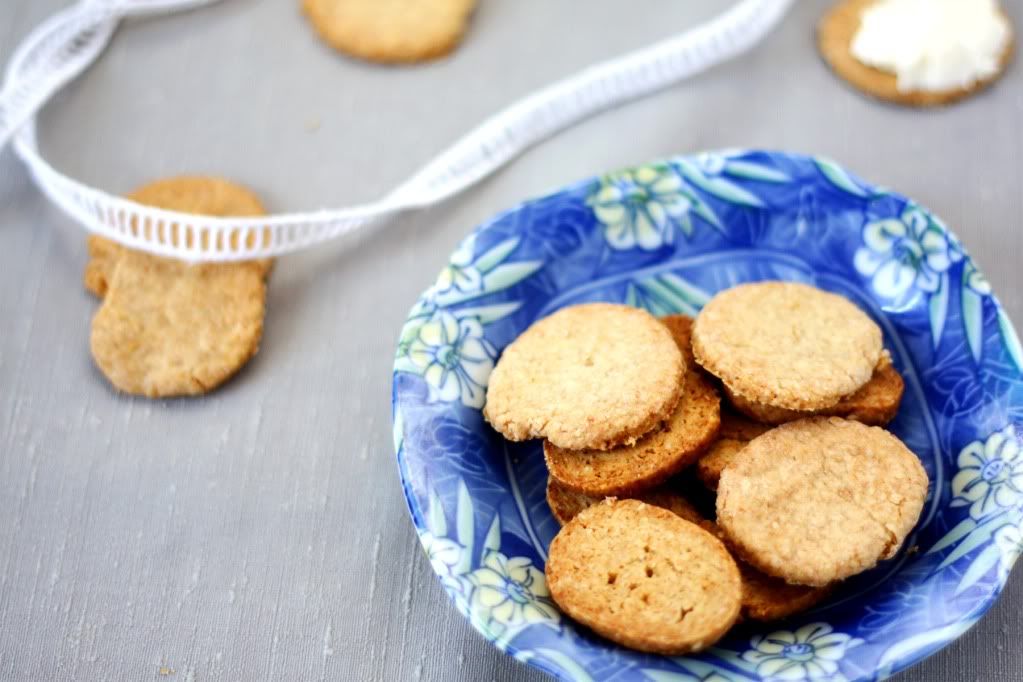
It actually tastes quite nice with a smidge of cream cheese on top. Wheatgerm crackers are indeed a lovely snack by itself.

What ingredients are sitting in your cupboard waiting to be used? Truffle salt? Bonito flakes? In my case it's oat bran.


Wheatgerm Crackers (adapted from Australian Women's Weekly)
Ingredients
1/2 cup wholemeal plain flour (or plain flour with some oat bran: another bag to be used up somehow)
2 teaspoons baking powder
1/2 teaspoon vegetable salt (plain salt can make do)
1 teaspoon white sugar
3/4 cup wheatgerm
60g butter
2 tablespoons water


Method
1. Sift flour, baking powder and salt into a mixing bowl. The husks leftover in the sieve are returned to the mix.
2. Add sugar and all the wheatgerm to the bowl. Mix lightly.
3. Rub in the butter until mixture resembles fine breadcrumbs. Then stir in water.
4. Gather dough into ball and place on floured surface, knead lightly for a couple of minutes. If the dough is too sticky add more flour.
5. Roll it into a long cylinder to about 5cm in diameter. Wrap in cling film and pop in the fridge to harden up - easier to slice into circles, you see. I learned the hard way. With my first batch, I rolled the dough out flat and made circles, only to discover that the dough had stuck to the counter top. I ended up with many misshapen crackers. Second batch I discovered the powers of the fridge.
6. After an hour or so has passed, take the dough out of the fridge to see if it is ready to slice. Slice away into rounds, place on lightly greased baking trays.
7. Bake at 180°C for about 10 to 15 minutes or until light golden brown.
8. Cool on baking tray. Makes approximately 30. Or in my case 20 since I ate 10 while they were cooling.

Wednesday, March 2, 2011

Cream Buns

After Lorraine from Not Quite Nigella mentioned tuckshop food, I remembered our AWW cards had a recipe for cream buns.  I am not talking about fancy brioche bread with freshly whipped cream, I'm talking about the cream buns with plenty of mock cream and that red sticky stuff that passed as jam.  Those buns that were so tightly wrapped in clingfilm that half the cream comes away with the plastic wrap as you unwrap your bun.  

I am not sure if this recipe for mock cream gives you the mock cream found in cream buns, to me it looks like a buttercream.  Let me know if you try this recipe!
australian women's weekly recipe card cream bun

Saturday, January 29, 2011

Mozzarella Strips

Finally!  Something that isn't gelatinised, cold and meaty, or tripe.  In my opinion, anything deep fried tastes good.  For example, churros, fries, Mars bars, prawns, springs rolls, zucchini, the list goes on.  This would make good party food since there is nothing particularly offensive about cheese, unlike Brandy Pate. 

I don't know which one I would want to eat more, mozzarella strips or crispy frankfurts, I do love processed meat.   
australian women's weekly aww recipe card mozzarella strips

Thursday, January 27, 2011

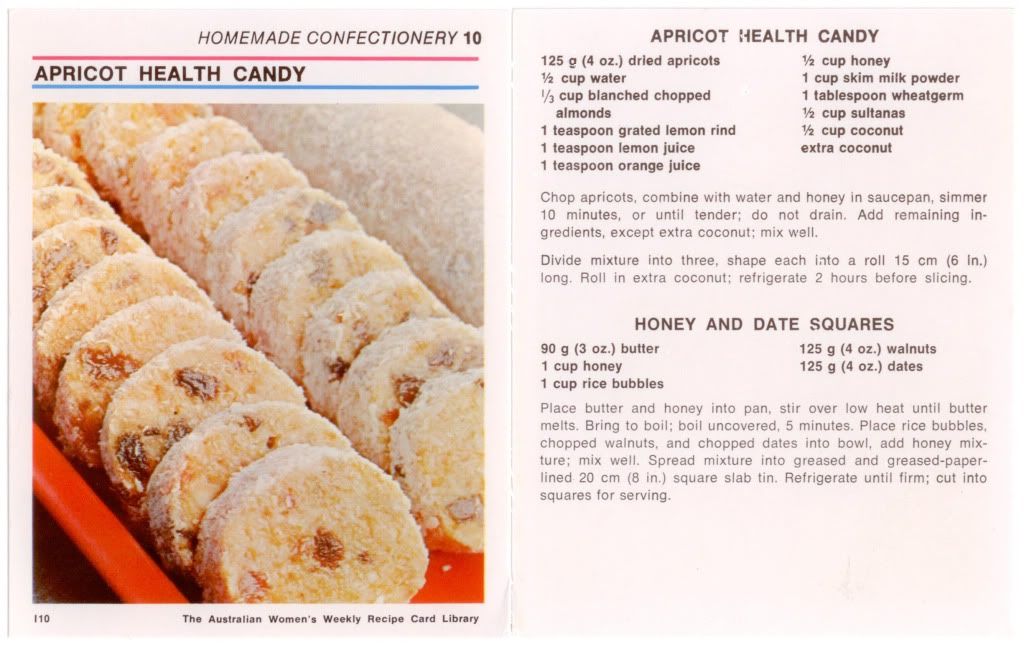
Apricot Health Candy


As a mother to two little girls I'm obsessed with their poos, ahem, BMs (bowel motions). To all the mums out there, "Aren't You???" Maybe it was my upbringing. I remember every morning I had to report back to HQ (mum). Was it a 10/10, a 5/10 or an 11/10? Fiber was a big deal in our home, and so will be for my two little girls. You pity them? So do I.

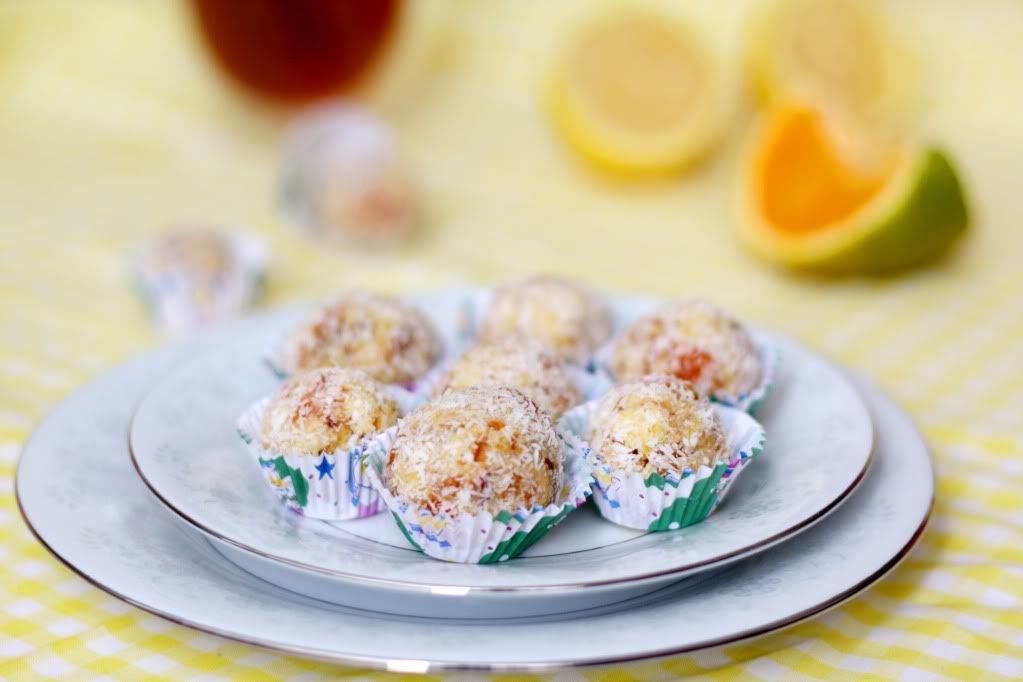
For the sake of adding more fiber into our collective diets, I'd like to share this recipe I found in the AWW recipe box. As an added bonus it tastes good too. Hurrah for young and old.


This would also be a nice substitute for supermarket confectionery. The health candy is sweetened by honey which we all know is better than white sugar. I also like the inherent flexibility of this recipe since you could substitute with whatever dried fruit you have on hand.


You could also include nuts and seeds for an added boost of fiber, omega-3 and protein. This certainly will be my go-to toddler and adult snack recipe.


What healthy snacks do you feed your children?

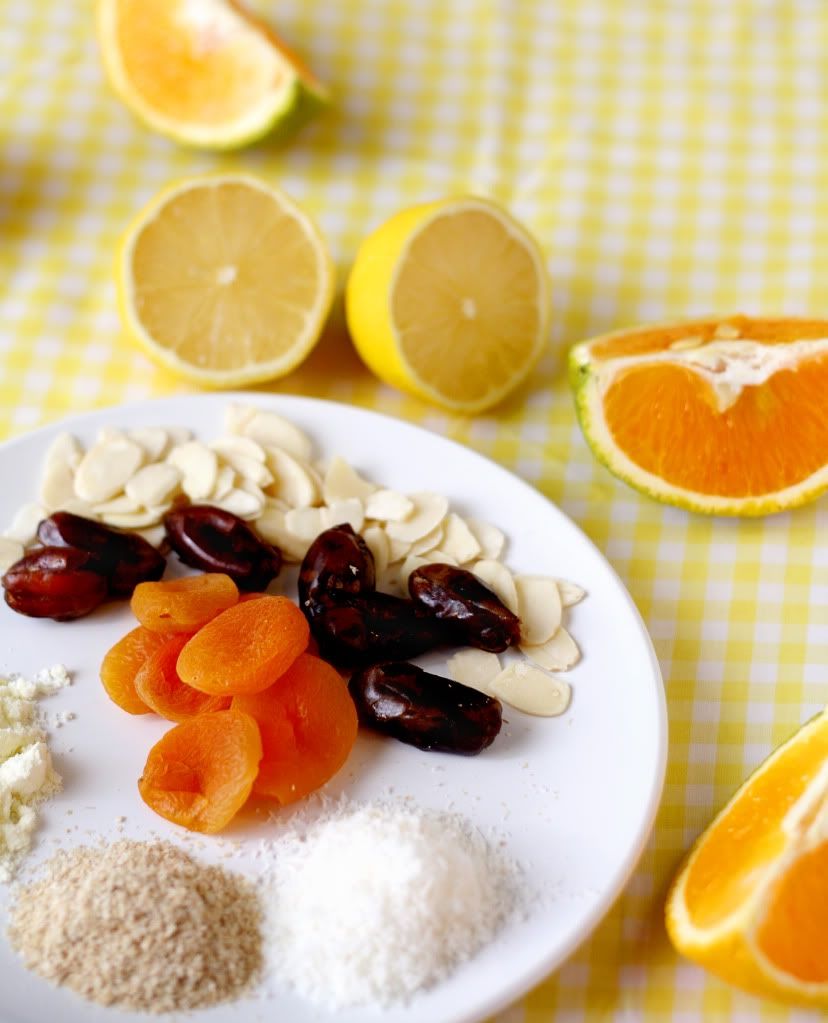
Ingredients
125g dried apricots
1/2 cup water
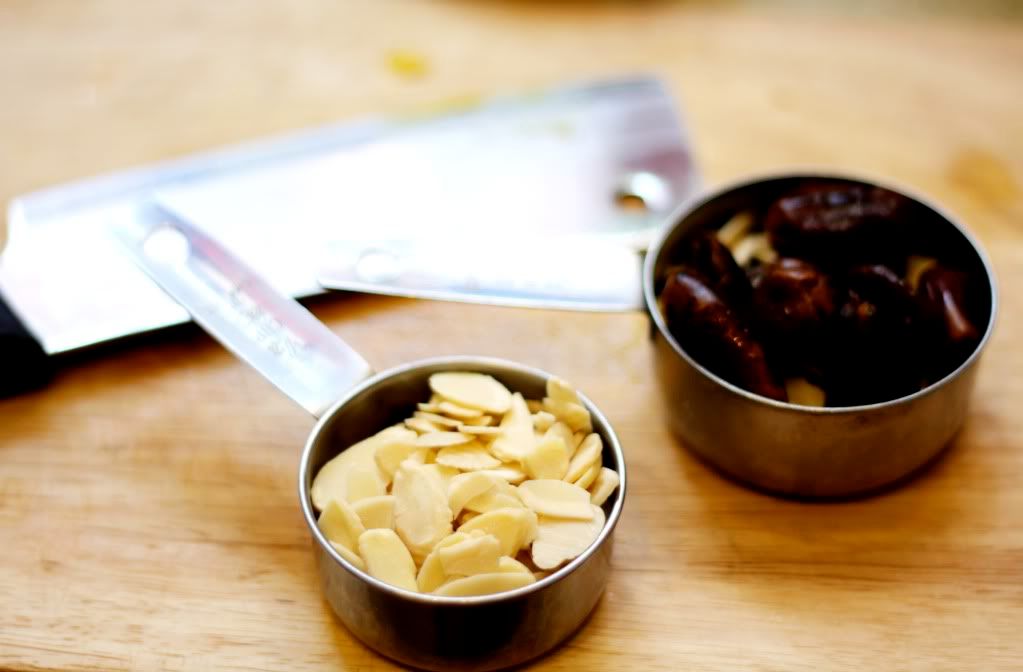
1/3 cup blanched chopped almonds
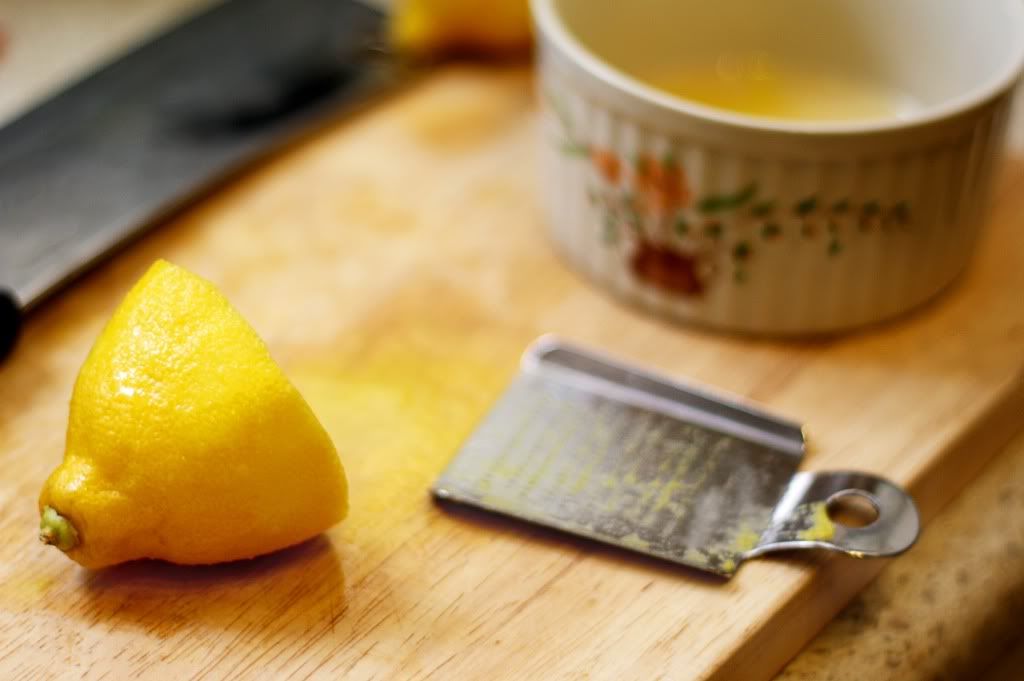
1 teaspoon lemon rind
1 teaspoon lemon juice
1 teaspoon orange juice
1/2 cup honey
1 cup skim milk powder
1 tablespoon wheatgerm
1/2 cup chopped dates
1/2 cup coconut, plus extra for rolling in

Method
1. Chop apricots and then combine with water and honey in saucepan. Simmer for 10 minutes, or until tender. Keep the liquid.
2. Add the remaining ingredients to the saucepan and mix well. They are now ready for shaping. The recipe card asked to roll into a log. But we turned them into little balls instead.
3. Roll the balls in the extra coconut as a coating. Ready to eat straight away, or you could store them in the fridge for later.

Related Posts Plugin for WordPress, Blogger...